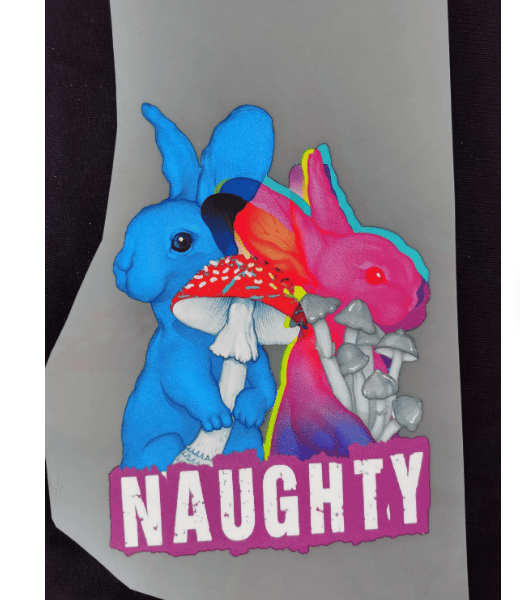
Most DTF printing practitioners often encounter the same problem: flat heat transfer prints look plain and lack texture. It is common to fail at creating 3D raised prints, resulting in flat patterns, uneven puffing, partial sinking, washing cracks, and rough grainy surfaces.
These failures are mostly caused by improper material selection and incorrect operation of special DTF puff powder.
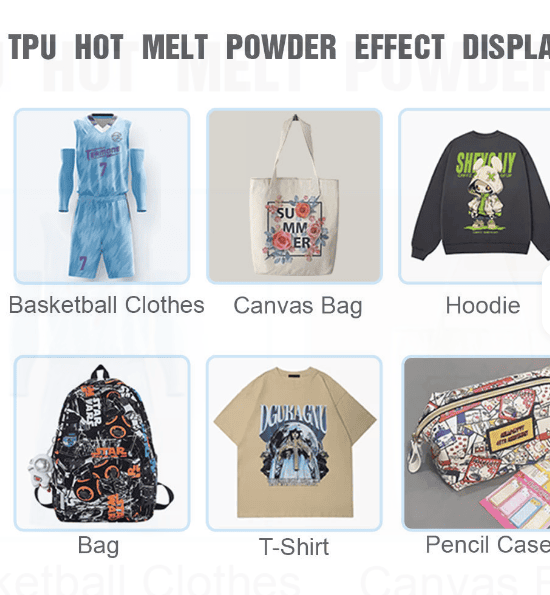
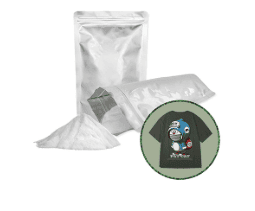
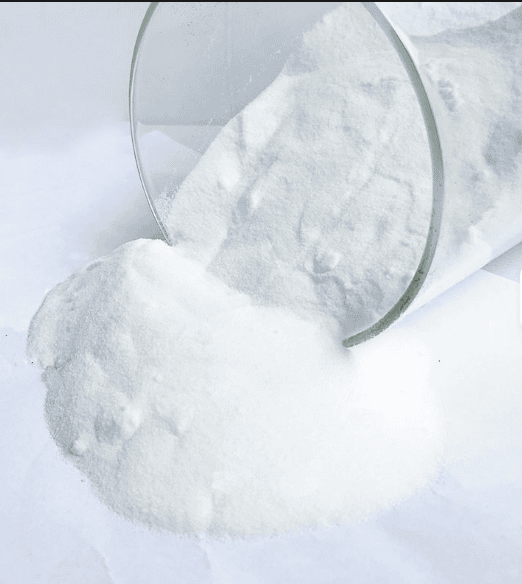
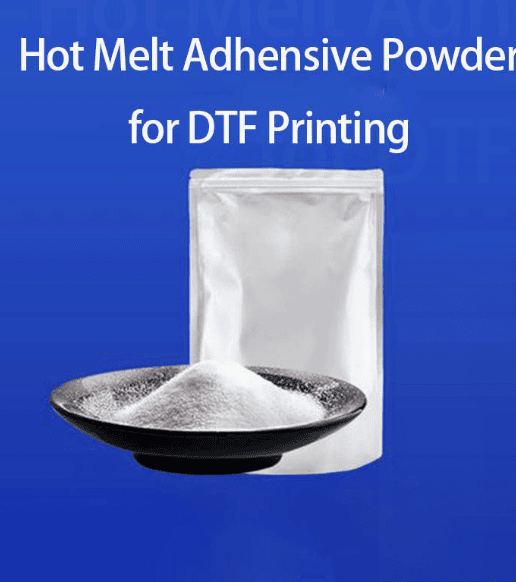
DTF puff powder is a functional hot-melt adhesive powder specially developed for DTF heat transfer printing. Unlike standard flat DTF powder, it contains high-temperature expandable microcapsules. After high-temperature curing and heat pressing, the powder expands evenly to form soft, full 3D raised prints with premium texture. It is widely applied on hoodies, T-shirts, canvas bags, children’s clothing and other fabrics, and has become the core material for trendy 3D puff printing.
Compared with regular DTF powder, it features 3D expansion, soft resilience, strong coverage, good air permeability and excellent wash resistance. However, it has stricter requirements on powder thickness, curing temperature and heat press parameters. A single parameter error may ruin the entire print.
2. Working Principle of DTF Puff Powder (Avoid Failures With Clear Principles)
1. Printing Stage: DTF ink is printed on the transfer film and remains wet to provide adhesion for puff powder.
2. Powder Adhesion: Puff powder evenly adheres to the wet ink layer, with no powder residue on blank areas.
3. Drying & Curing: The powder melts and solidifies under high temperature, and the microcapsules are initially shaped.
4. Heat Press & Puffing: High temperature and pressure instantly activate microcapsule expansion, forming a uniform 3D raised effect.
5. Cooling & Shaping: The print sets after cooling, featuring soft elasticity, wear resistance and wash durability.
3. Standard Operation Process (Beginner-Friendly Foolproof Steps)
Step 1. Print Patterns & Grasp the Best Powder-Coating Time
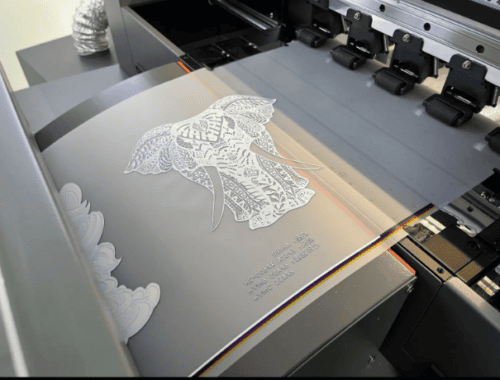
Print mirrored patterns normally with a DTF printer. Apply puff powder immediately after printing without delay. DTF puff powder only adheres to wet ink. Dry ink will cause uneven powder adhesion, missing coverage and incomplete puffing — one of the most common beginner mistakes.
Step 2. Apply Even Powder & Control Thickness (Core Key)
Two applicable operation methods for reference:
Manual Operation: Place the printed transfer film ink-side up. Spread DTF puff powder evenly to fully cover the pattern with a slightly thicker layer than regular DTF powder, ensuring complete coverage with no blank spots. Tilt the film at 45 degrees and shake gently to remove excess loose powder and avoid powder accumulation and agglomeration.
Machine Operation: Use an automatic powder shaker at medium speed to form a thin, uniform and fully covered powder layer without accumulation.
Thickness Standard: Too thin powder leads to insufficient 3D puff height; too thick powder causes grainy texture, stiff hand feel, easy cracking and poor air permeability.
Step 3. Dry & Cure to Lock Puff Activity
Put the powder-coated film into an oven or curing machine. Standard curing parameters: 110-120℃, 3-5 minutes.
Curing Standard: The film surface is dry and non-sticky with fully melted and solidified powder layer. Avoid excessive high-temperature or prolonged baking, which will exhaust microcapsule activity and cause failure to puff. Incomplete curing leads to sticking and powder falling off.
Step 4. Heat Press & Trigger 3D Puffing
Preheat the heat press machine and pre-press the fabric for 5-10 seconds to remove moisture, smooth wrinkles and ensure tight lamination.
Universal Heat Press Parameters: 165-175℃, medium-high pressure, 10-15 seconds.
The puff powder expands rapidly during heat pressing to form full 3D raised patterns. Adjust parameters according to different fabrics: medium-high temperature for pure cotton fabrics, slightly lower temperature for chemical fiber fabrics to prevent fabric damage and over-puffing collapse.
Step 5. Cool Down & Peel the Film for Final Shaping
Cold peeling is highly recommended. Peel the film only after the print is completely cooled. Hot peeling easily causes stretching deformation, local collapse and edge lifting of the puff layer, ruining the 3D effect and printing fastness. Cold peeling ensures full, flat patterns with clean edges.
4. Precise Parameter Reference Chart (Directly Applicable)
Process
Temperature
Hora
Key Notes
Drying & Curing
110-120℃
3-5min
Keep dry and non-sticky; avoid over-baking
Fabric Pre-pressing
150℃
5-10 s
Remove moisture and smooth fabric
Heat Press & Puffing
165-175℃
10-15s
Medium-high pressure with even force
Film Peeling Method
Room Temperature
Natural Cooling
Cold peel preferred to prevent collapse & deformation
5. Common Failures & Solutions
1. No puffing & flat patterns
Causes: Powder applied after ink dries, excessive curing temperature/time, expired or damp puff powder. Solutions: Apply powder immediately after printing, strictly follow standard curing parameters, and use fresh and dry puff powder.
2. Uneven puffing & irregular height
Causes: Uneven powder thickness, incomplete excess powder removal, unbalanced heat press pressure. Solutions: Apply powder evenly, thoroughly shake off loose powder, and ensure balanced press machine pressure.
3. Puff collapse & shrinkage after pressing
Causes: Excessive heat press temperature/time, hot peeling. Solutions: Lower temperature, shorten pressing time, and always adopt cold peeling process.
4. Grainy surface & stiff hand feel
Causes: Overly thick powder layer, powder accumulation and agglomeration, insufficient powder shaking. Solutions: Control uniform powder thickness, remove excess powder completely and avoid local powder accumulation.
5. Washing cracks & peeling off
Causes: Incomplete curing, insufficient heat press pressure, residual fabric moisture. Solutions: Properly extend curing time, increase press pressure, and pre-press fabric to remove moisture.
6. Storage & Operation Precautions
1. DTF puff powder is highly hygroscopic and prone to caking. Seal and store it in dry conditions away from high temperature and humidity after opening. Discard damp powder directly.
2. Semi-finished prints stored for a long time will have severely reduced puffing performance after secondary heating. It is recommended to press prints immediately after production.
3. Thin the powder layer for large dark patterns to avoid stiff texture and cracking caused by excessive ink accumulation; slightly thicken powder for small patterns to enhance 3D layering.
4. Do not mix puff powder with regular DTF powder, which will cause puffing failure and defective printing texture.
7. Social Media Captions (Ready-to-Use)
1. Ultimate DTF puff printing guide ✅ Master precise parameters for full 3D raised prints without sinking or cracking!
2. Upgrade your flat prints! Professional DTF puff powder operation process, zero failure for beginners.
3. Fix all puff printing issues ❌ No puffing, sinking, grainy texture or washing cracks — essential tips for DTF printing workers!